Exchange 2013 Server installation – Part 2
Posted by Alan McBurney on November 5, 2012
In the first part of this multi part blog post I covered the installation of the Client Access Server
This time around we will cover the installation of the Mailbox role.
Lets get started by covering off the pre-requisites the Mailbox Role
- Server Media Foundation roles
To install Server-Media-Foundation open PowerShell and run the following commands
Import-Module ServerManager
Add-WindowsFeature Server-Media-Foundation
Shutdown –r -t 00

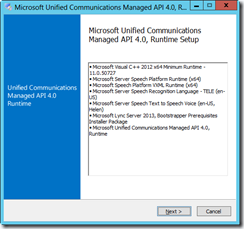
- When the server comes back up after its reboot install Microsoft Unified Communications API 4.0 Runtime


- Then we install the Office 2010 Filter Packs Version 2.0


- And finally its Office 2010 Filter Packs 2.0 Service Pack 1


One final reboot is required before we can install the Exchange 2013 Mailbox role.
Once the server is back up we can go ahead and launch the Exchange 2013 setup routine.
The following screenshots will guide you though the install


Once the installation is complete we can check that the Exchange Admin Center comes up as expected.
Open your web browser and enter the IP\DNS name of your CAS server. For me its
As I installed a trusted certificate yet I will get a security error once I connect. This can be ignored as its expected behaviour

Once you have accepted the warning you will be presented with the Exchange Admin Center


Repeat the installation process for MBX02 and once complete that concludes part 2 of this blog post.
Next time out I will configure up the Client Access Server Client URLs and setup the Kemp Virtual Load Master

dave said
Hi,
possible to show what are the steps in a exchange migration etc from exchange 2003 to 2008.What are the checklist need to do before cutting to a new exhange like mail box backup,pst file etc.
Installation d'Exchange 2013 said
[…] Installation – Everythingsysadmin […]